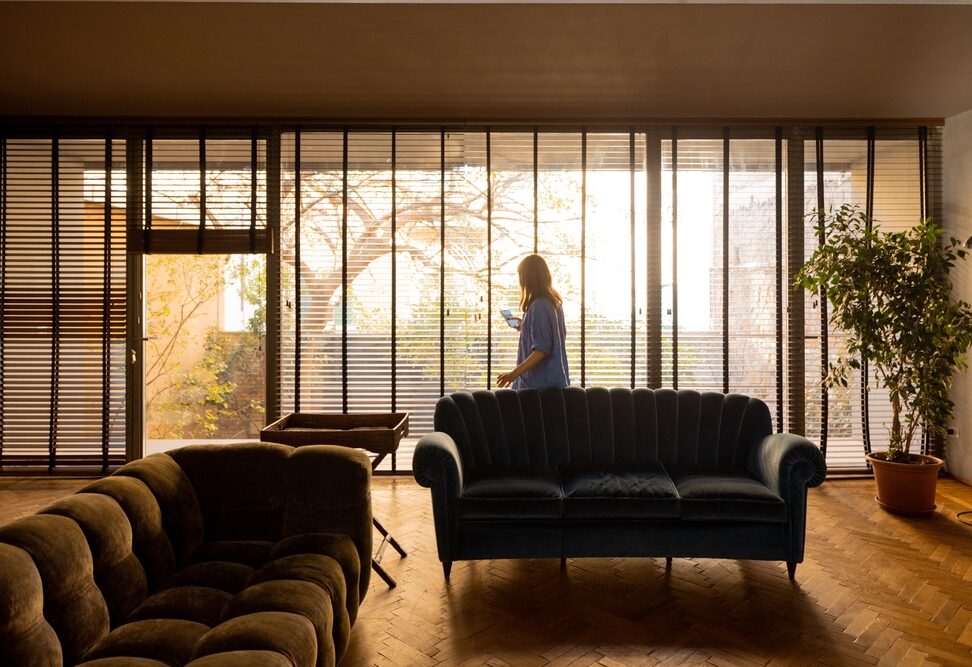
If you’ve ever felt a chill near a bare window in January or sweltered during a July heat wave, you know just how much energy—and comfort—can escape through glass. According to the Department of Energy, windows account for 25-30% of residential heating and cooling energy use, making them one of the biggest culprits behind high utility bills. The right window treatments can make a world of difference. By adding well-designed, energy-efficient window coverings to your home, you can keep out the winter cold, block the summer heat, and ease the burden on your HVAC system. The result? Lower utility bills and a more comfortable living space all year round.
Consider Sarah, a homeowner in Minneapolis who installed cellular shades throughout her 2,400-square-foot colonial home. After one full year of consistent use, she documented a 15% reduction in her heating costs—translating to $280 in annual savings. Or take Mike in Phoenix, who added insulated shutters to his west-facing family room and noticed his afternoon cooling bills drop by nearly 20% during the brutal summer months.
In this article, we’ll explore the most effective options—cellular shades, insulated shutters, and thermal draperies. We’ll break down R-values in simple terms, help you estimate your savings, and highlight energy-smart products from Graber and Norman. Plus, we’ll share seasonal habits to enhance your results and provide room-by-room recommendations to maximize your investment.
Understanding Insulation: R-Value in Simple Terms
Windows are beautiful but often act as weak points when it comes to energy efficiency. While your walls might have an R-value of 13-15 and your attic insulation reaches R-30 or higher, a single-pane window typically offers an R-value of just 1. Even modern double-pane windows only achieve R-values of 2-3. This dramatic difference explains why you feel temperature changes most acutely near windows.
Insulation performance is typically measured by R-value: the higher the R-value, the better a material resists heat flow. Think of R-value as a material’s ability to keep indoor and outdoor temperatures separate. That’s where window treatments come in—they add insulating layers and air pockets that slow down heat transfer through the glass.
A few key points to remember:
- R-value measures resistance to heat flow; higher numbers mean better insulation
- U-factor is the opposite of R-value; lower U-factors indicate better insulation
- Window treatments can effectively double or triple your window’s insulating capacity
- Air gaps are crucial—trapped, still air is one of nature’s best insulators
For example, a quality double-cell cellular shade can add R-4 to R-6 to your window’s performance, while insulated shutters might contribute R-2 to R-4. When you combine a double-pane window (R-3) with a well-fitted cellular shade (R-5), you’ve achieved R-8 total—more than half the insulating power of your walls.
In short, treatments that trap air (like honeycomb designs), utilize thicker or lined fabrics, and fit snugly can significantly boost the effective R-value of your windows.
How Energy Efficient Window Treatments Work
The best window treatments accomplish three critical functions:
Reduce convection: They create still-air pockets between the treatment and the glass, preventing air circulation that carries heat away from or toward the window surface.
Increase resistance: They incorporate materials (like fabric layers or wood/composite panels) that slow heat flow through conduction and radiation.
Control solar gain: They manage sunlight strategically—allowing beneficial warmth in during winter while blocking unwanted heat in summer—without forcing you to live in darkness.
The science is straightforward: heat moves in three ways—conduction (through direct contact), convection (through air movement), and radiation (through electromagnetic waves). Effective window treatments address all three methods.
Look for these performance features:
- Tight side and bottom seals or side channels to limit drafts and air infiltration
- Multiple layers or cells (like double-cell shades or lined draperies) that create additional air barriers
- Light control options (sheer vs. blackout) tailored to your room’s orientation and seasonal needs
- Quality hardware and precise fitting to minimize gaps where conditioned air can escape
- Materials that reflect rather than absorb radiant heat
Cellular Shades (Honeycomb): Lightweight Powerhouses
If you’re seeking maximum insulation without bulk, cellular shades are hard to beat. Their honeycomb structure creates pockets of trapped air that act like mini thermal blankets over your windows. The concept is borrowed from nature—bees use hexagonal cells because they’re incredibly efficient at containing air while using minimal material.
Why homeowners love them:
- Excellent insulation for their size and cost—often the best bang for your buck
- Versatile aesthetics: from soft neutrals to bold textures and patterns
- Various light control options: sheer, light-filtering, room-darkening, and blackout
- Enhancements like double- or triple-cell constructions and side tracks to improve performance
- Top-down/bottom-up operation for controlling light while maintaining privacy
- Available in cordless and motorized options for convenience and child safety
Performance breakdown by cell configuration:
- Single-cell: R-2 to R-3, good for moderate climates
- Double-cell: R-4 to R-6, excellent for most applications
- Triple-cell: R-6 to R-8, premium performance for extreme climates
Real-world performance tips:
- More cells equal more air pockets, leading to better insulation
- Blackout fabrics typically insulate better than sheer fabrics due to their thickness and added layers
- Side-channel systems can reduce air leakage by up to 50% compared to standard installations
- Cell size matters: 3/8″ cells offer good insulation, while 3/4″ cells provide maximum thermal performance
Step-by-step selection process:
- Measure your windows and note any unusual shapes or obstacles
- Determine your primary goal: insulation, light control, or both
- Choose cell configuration based on your climate and budget
- Select fabric opacity based on room function and privacy needs
- Consider upgrade options like side channels, cordless operation, or motorization
- Factor in mounting style—inside mount offers better sealing but requires adequate depth
When to choose cellular shades:
- In bedrooms and living areas where comfort and light control are essential
- In older homes with drafty windows that need immediate improvement
- In south and west-facing rooms needing summer heat control while allowing beneficial winter sun
- When you want energy efficiency without sacrificing natural light
- In children’s rooms where cordless operation is a safety priority
Graber and Norman cellular options:
Graber offers their CrystalPleat and EvenPleat collections with various cell sizes, fabrics, and lift systems (including cordless and motorized). Their UltraGlide system provides smooth operation even on large windows, while their room-darkening fabrics achieve near-blackout conditions when properly installed.
Norman’s honeycomb shades are known for their durability and consistent cell structure. Their SmartPrivacy collection offers top-down/bottom-up functionality, while their Insulating collection focuses specifically on energy performance with enhanced cell designs and optional side channels.
Insulated Shutters: Solid, Stylish, and Sturdy
Shutters function like interior “storm doors” for your windows. When closed, they create a solid barrier that reduces heat transfer and blocks drafts while adding substantial visual weight and architectural interest. Unlike fabric treatments, shutters provide year-round durability and require minimal maintenance.
Why they work from an energy perspective:
- Solid panels and frames minimize air movement near the glass surface
- Dense materials like composite and engineered wood offer consistent thermal performance
- Tight-fitting frames with weatherstripping create effective seals
- Adjustable louvers allow precise control of light and air infiltration
Material comparison for energy performance:
Composite shutters:
- Consistent density prevents warping that creates gaps
- Superior moisture resistance maintains tight fits over time
- Often outperform wood in extreme temperature swings
- Typical R-value contribution: R-2.5 to R-4
Engineered wood shutters:
- Natural insulating properties of wood
- Stable construction resists seasonal movement
- Can be painted or stained to match décor
- Typical R-value contribution: R-2 to R-3.5
Solid wood shutters:
- Premium appearance and feel
- Good insulation when properly maintained
- May require periodic adjustment as wood moves
- Typical R-value contribution: R-2 to R-3
Design choices that maximize energy performance:
- Frame style: A full frame with light blocks and weatherstripping enhances sealing around the perimeter
- Louver size and closure: 3.5″ louvers typically seal better than 4.5″ louvers when closed
- Panel configuration: Bi-fold panels can create tighter seals than single panels on wide windows
- Hardware quality: Premium hinges and magnetic catches ensure panels stay properly closed
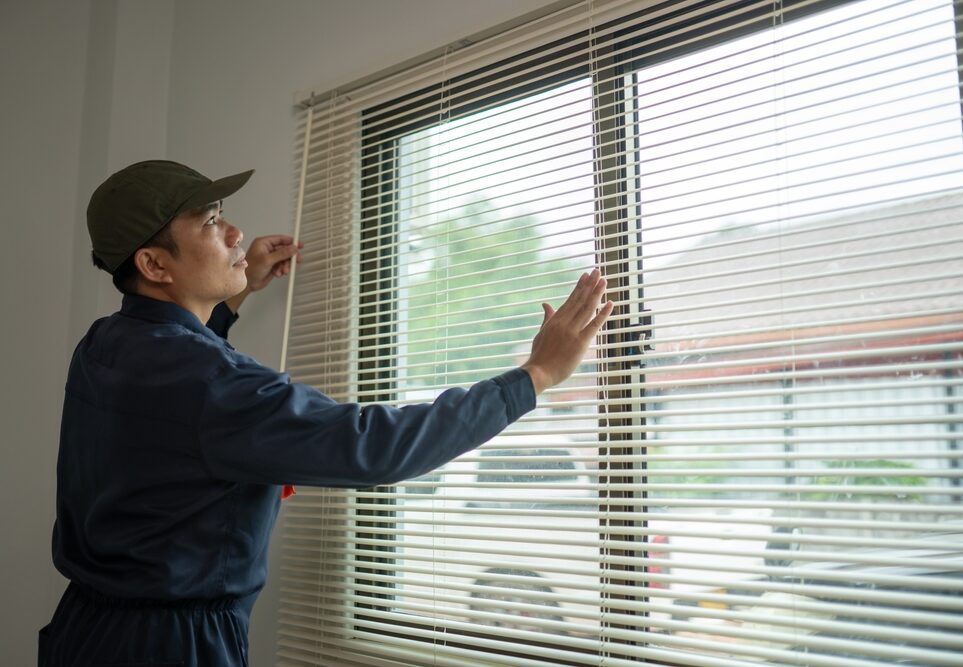
Installation considerations:
Proper installation is crucial for energy performance. Professional installers should:
- Ensure square, plumb frames for optimal panel fit
- Install weatherstripping where panels meet frames
- Adjust panels for consistent gaps and smooth operation
- Seal any gaps between the shutter frame and window opening
When to choose shutters:
- In high-traffic rooms where durability and easy cleaning are priorities
- In homes that benefit from a classic, built-in architectural look
- When you want insulation without fabric that might fade or wear
- In kitchens and bathrooms where moisture resistance matters
- For homeowners who prefer the substantial feel and operation of solid panels
Graber and Norman shutter options:
Graber offers their Legacy and Traditions shutter lines in wood and composite materials. Their custom frame systems improve light and draft control, while their hidden tilt mechanisms provide clean aesthetics without sacrificing louver control.
Norman is particularly well-regarded for its composite shutter lines, including the Normandy and SmartPrivacy collections. Their precision manufacturing ensures tight tolerances that enhance both insulation and light control, while their lifetime warranties reflect confidence in long-term performance.
Thermal Draperies: Beautiful Layers, Serious Insulation
Thermal draperies represent the premium approach to window insulation, combining aesthetic flexibility with serious energy performance. The key lies in understanding that draperies work as a system—fabric, lining, hardware, and installation method all contribute to the final result.
The anatomy of high-performance draperies:
Face fabric considerations:
- Tightly woven fabrics perform better than loose weaves
- Natural fibers like wool offer inherent insulating properties
- Darker colors absorb more heat (good for winter, challenging for summer)
- Fabric weight contributes to thermal mass and drape quality
Lining and interlining options:
- Blackout lining: Foam-backed or multi-layer construction, R-value contribution of R-1 to R-2
- Thermal lining: Specialized fabrics designed for insulation, R-value contribution of R-2 to R-3
- Interlining: A separate layer between face fabric and lining, adds R-1 to R-2 plus sound absorption
- Reflective lining: Metallic backing reflects radiant heat, particularly effective on south and west windows
Hardware and hanging methods that enhance performance:
- Returns: Drapery panels that wrap back to the wall eliminate side gaps
- Overlap: Center panels that cross over prevent light and air leaks
- Extended brackets: Mount draperies 6-8 inches beyond the window frame to cover thermal bridges
- Floor-length panels: Eliminate bottom gaps where air can circulate
- Valances or cornices: Top treatments that prevent air circulation above the panels
Step-by-step specification process:
- Measure comprehensively: Include wall space for returns and extensions
- Choose your lining strategy: Consider room orientation and seasonal priorities
- Select hardware: Ensure brackets can support the weight of lined panels
- Plan the stack-back: Account for panel thickness when determining rod length
- Consider layering: Plan for potential combination with shades or blinds
Layering strategies for maximum performance:
The most energy-efficient window treatments often combine multiple products:
- Cellular shade + draperies: The shade provides consistent insulation while draperies add style and seasonal flexibility
- Roller shade + draperies: A clean, modern look with excellent light control options
- Shutter + draperies: Maximum flexibility for light, privacy, and seasonal adjustment
When to choose thermal draperies:
- In formal spaces where layered looks complement the décor
- In rooms that need both sound absorption and thermal improvement
- Anywhere you want maximum flexibility with seasonal layering
- In homes with architectural windows that benefit from fabric softening
- When you’re willing to invest in premium performance and appearance
Seasonal adjustment techniques:
- Winter: Close panels at sunset to trap warm air, open during sunny days for solar gain
- Summer: Keep closed during peak sun hours, consider tiebacks during cooler evening hours
- Shoulder seasons: Use tiebacks and partial closure to fine-tune comfort levels
Graber and Norman drapery options:
Graber offers comprehensive custom drapery programs with hundreds of fabric options and professional lining services. Their hardware systems accommodate heavy, lined panels while ensuring smooth operation. Their design consultants can help specify the right combination of face fabric, lining, and hardware for your specific energy goals.
Norman’s fabric programs focus on performance textiles, including their EnergyLogic collection specifically designed for thermal performance. Their custom workroom services ensure proper construction techniques like weighted hems, hand-sewn headings, and precise returns that maximize energy efficiency.
Seasonal Playbook: Using Your Treatments to Save More
Small habits can lead to significant savings, especially when aligned with the seasons and your local climate patterns. The key is developing routines that become second nature while maximizing your treatments’ energy potential.
Winter optimization strategies:
Morning routine (7-9 AM):
- Open south-facing cellular shades or shutters to capture free solar heat
- Keep north-facing treatments closed to maintain overnight warmth
- Adjust east-facing treatments based on sun angle and outdoor temperature
Afternoon management (12-4 PM):
- Maximize south and southwest window openings during peak sun hours
- Monitor indoor temperature—close treatments if rooms become overheated
- Consider partial opening of cellular shades (top-down) for light without full heat gain
Evening protocol (sunset to bedtime):
- Close all insulating treatments 30 minutes before sunset to trap warm air
- Ensure drapery returns are properly positioned to eliminate side gaps
- Check that cellular shades are fully lowered and side channels are engaged
Overnight settings:
- Keep all treatments closed to maintain warmth and reduce drafts
- In bedrooms, layer blackout treatments for both energy savings and sleep quality
- Avoid opening treatments for ventilation unless outdoor temperatures exceed indoor comfort levels
Summer cooling strategies:
Early morning (5-8 AM):
- Open treatments on shaded sides of the house for natural ventilation
- Keep east-facing windows covered once direct sun hits the glass
- Use top-down cellular shades to maintain light while blocking low-angle sun
Peak heat management (10 AM-6 PM):
- Close all treatments on sun-exposed windows—this is non-negotiable for maximum savings
- Use light-colored or reflective treatments to bounce heat away from windows
- Consider motorized treatments programmed to respond to sun sensors
Evening transition (6-9 PM):
- Begin opening treatments on shaded sides as outdoor temperatures drop
- Keep west-facing treatments closed until after sunset
- Use cross-ventilation strategically while maintaining solar protection
Overnight cooling:
- Open treatments for natural ventilation if outdoor temperatures drop significantly
- Use window fans in combination with treatments to direct airflow
- Close treatments before sunrise to trap cool air for the following day
Shoulder season flexibility:
- Develop weekly routines based on weather forecasts
- Use motorization or smart home integration to automate seasonal transitions
- Monitor utility bills to identify the most effective strategies for your specific home
Estimating ROI: What Can You Expect to Save?
Every home is unique, so consider these examples as starting points. Your actual savings will depend on factors like climate zone, window orientation, existing glass type, home insulation levels, HVAC efficiency, and how consistently you operate your treatments.
Methodology for calculating your potential savings:
Step 1: Establish your baseline
Review 12 months of utility bills and identify heating and cooling costs. In most homes, this represents 40-60% of total energy usage. For example:
- Total annual utility costs: $2,400
- Estimated heating/cooling portion: $1,440 (60%)
- This becomes your baseline for calculating treatment savings
Step 2: Estimate treatment impact
Research suggests that properly installed and operated energy-efficient window treatments can reduce heating and cooling energy consumption by 10-25%, with the higher end achieved through premium products and consistent operation.
Step 3: Calculate annual savings
Using conservative estimates helps ensure realistic expectations:
- Baseline heating/cooling costs: $1,440
- Estimated reduction: 15%
- Annual savings: $216
Step 4: Determine simple payback
Divide total project cost by annual savings:
- Project cost: $3,500
- Annual savings: $216
- Simple payback: 16.2 years
Detailed examples by home type:
Example 1: Cellular shades throughout a 3-bedroom ranch home
- Home details: 1,800 sq ft, 12 windows, mixed orientations, existing double-pane glass
- Treatment specification: Double-cell light-filtering shades with side channels in bedrooms, single-cell in secondary areas
- Estimated project cost (custom, professionally installed): $2,700–$4,200 depending on sizes, fabrics, and lift systems
- Baseline annual heating/cooling costs: $1,800
- Conservative savings estimate: 12% = $216/year
- Optimistic savings estimate: 18% = $324/year
- Simple payback range: 8.3–19.4 years
- Additional benefits: Improved comfort, UV protection for furnishings, enhanced privacy
Example 2: Insulated shutters in a two-story colonial
- Home details: 2,800 sq ft, 18 windows, significant west and south exposure, older single-pane windows
- Treatment specification: Composite shutters with full frames and weatherstripping throughout
- Estimated project cost: $8,500–$12,000 for premium materials and professional installation
- Baseline annual heating/cooling costs: $2,800 (higher due to single-pane windows)
- Conservative savings estimate: 20% = $560/year
- Optimistic savings estimate: 28% = $784/year
- Simple payback range: 10.8–21.4 years
- Additional benefits: Increased home value, enhanced curb appeal, lifetime durability
Example 3: Layered approach in a modern home
- Home details: 2,400 sq ft, 15 large windows, floor-to-ceiling glass, existing low-E double-pane
- Treatment specification: Cellular shades for insulation plus motorized draperies for style and additional thermal performance
- Estimated project cost: $12,000–$18,000 including motorization and custom draperies
- Baseline annual heating/cooling costs: $2,200
- Conservative savings estimate: 15% = $330/year
- Optimistic savings estimate: 25% = $550/year
- Simple payback range: 21.8–54.5 years
- Additional benefits: Automated convenience, luxury aesthetics, maximum flexibility
Factors that improve ROI:
- Extreme climate conditions (very hot summers or cold winters)
- Older, less efficient windows
- Large window areas relative to wall space
- Consistent operation of treatments according to seasonal strategies
- Rising energy costs over time
- Utility rebates or tax incentives for energy-efficient improvements
Beyond energy savings:
Remember that window treatments provide value beyond utility bill reduction:
- Comfort improvement: Reduced drafts and hot spots
- UV protection: Prevents fading of furniture, flooring, and artwork
- Privacy and security: Enhanced control over visibility into your home
- Noise reduction: Particularly with cellular shades and lined draperies
- Home value: Quality treatments are viewed as permanent improvements
- Aesthetic enhancement: Professional treatments elevate your interior design
Conclusion
Energy-efficient window treatments do more than just dress up your windows—they help your home stay comfortable, lower your utility bills, and protect your interiors year-round. Whether you choose cellular shades, insulated shutters, or thermal draperies, each option adds valuable insulation and style. With thoughtful selection and consistent use, you’ll enjoy a cozier home, reduced energy costs, and lasting comfort in every season.